Connect your Shopify store (or stores) with Business Central
and maximize your business productivity.
To use Shopify with Business Central, you have a couple of
things to do first.
Prerequisites for Shopify
You
must have:
·
A Shopify account
·
A Shopify online store
To
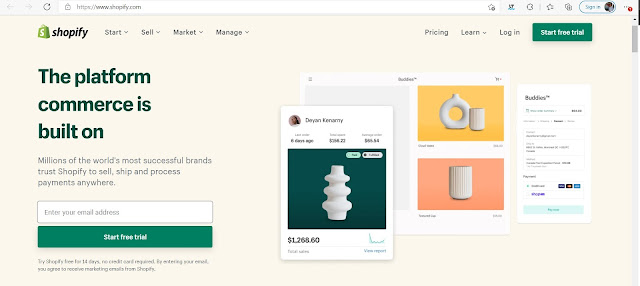
create a new Shopify account or sign-up for a free 14-day trial, navigate to Shopify
Enter your email address for a free 14-day trial
Click on “Start free trial”
Enter Password and Store Name
Click on Create your store
Select the option based on your business (or skip)
Select the Country
Click on Enter my store
Our trial Shopify store is ready
Recommended settings
·
Deactivate Automatically archive the order in
the Order Processing section
of the Checkout settings
in your Shopify admin.
Prerequisites for Business Central
·
Make sure that the Shopify Connector app is
installed.
Connecting Business Central to the Shopify online store
1.
Go to the search icon, enter Shopify
Shop and choose the related link.
2.
Choose the New action.
3.
In the Code field,
enter the desired code.
4.
In the Shopify
URL field, type the URL of your online shop, which needs
to be connected. Use the following format: https://{shop}.myshopify.com/.
5.
Activate Enabled toggle,
review and accept the terms and conditions.
6.
If prompted, sign-in into your Shopify account, review privacy
and permissions, and then choose the Install
App button.
Configure
location mapping:
1. Choose the Locations action to
open Shopify Shop Locations.
2. Choose the Get Shopify Locations action
to import all locations defined in the Shopify.
3. In the Location Filter,
enter ''|EAST|MAIN.
4. Deselect toggle from the Disabled field
to enable inventory sync for selected Shopify location.
Synchronize
Business Central Items, Prices, Images and Inventory to Shopify - Part 2


No comments:
Post a Comment